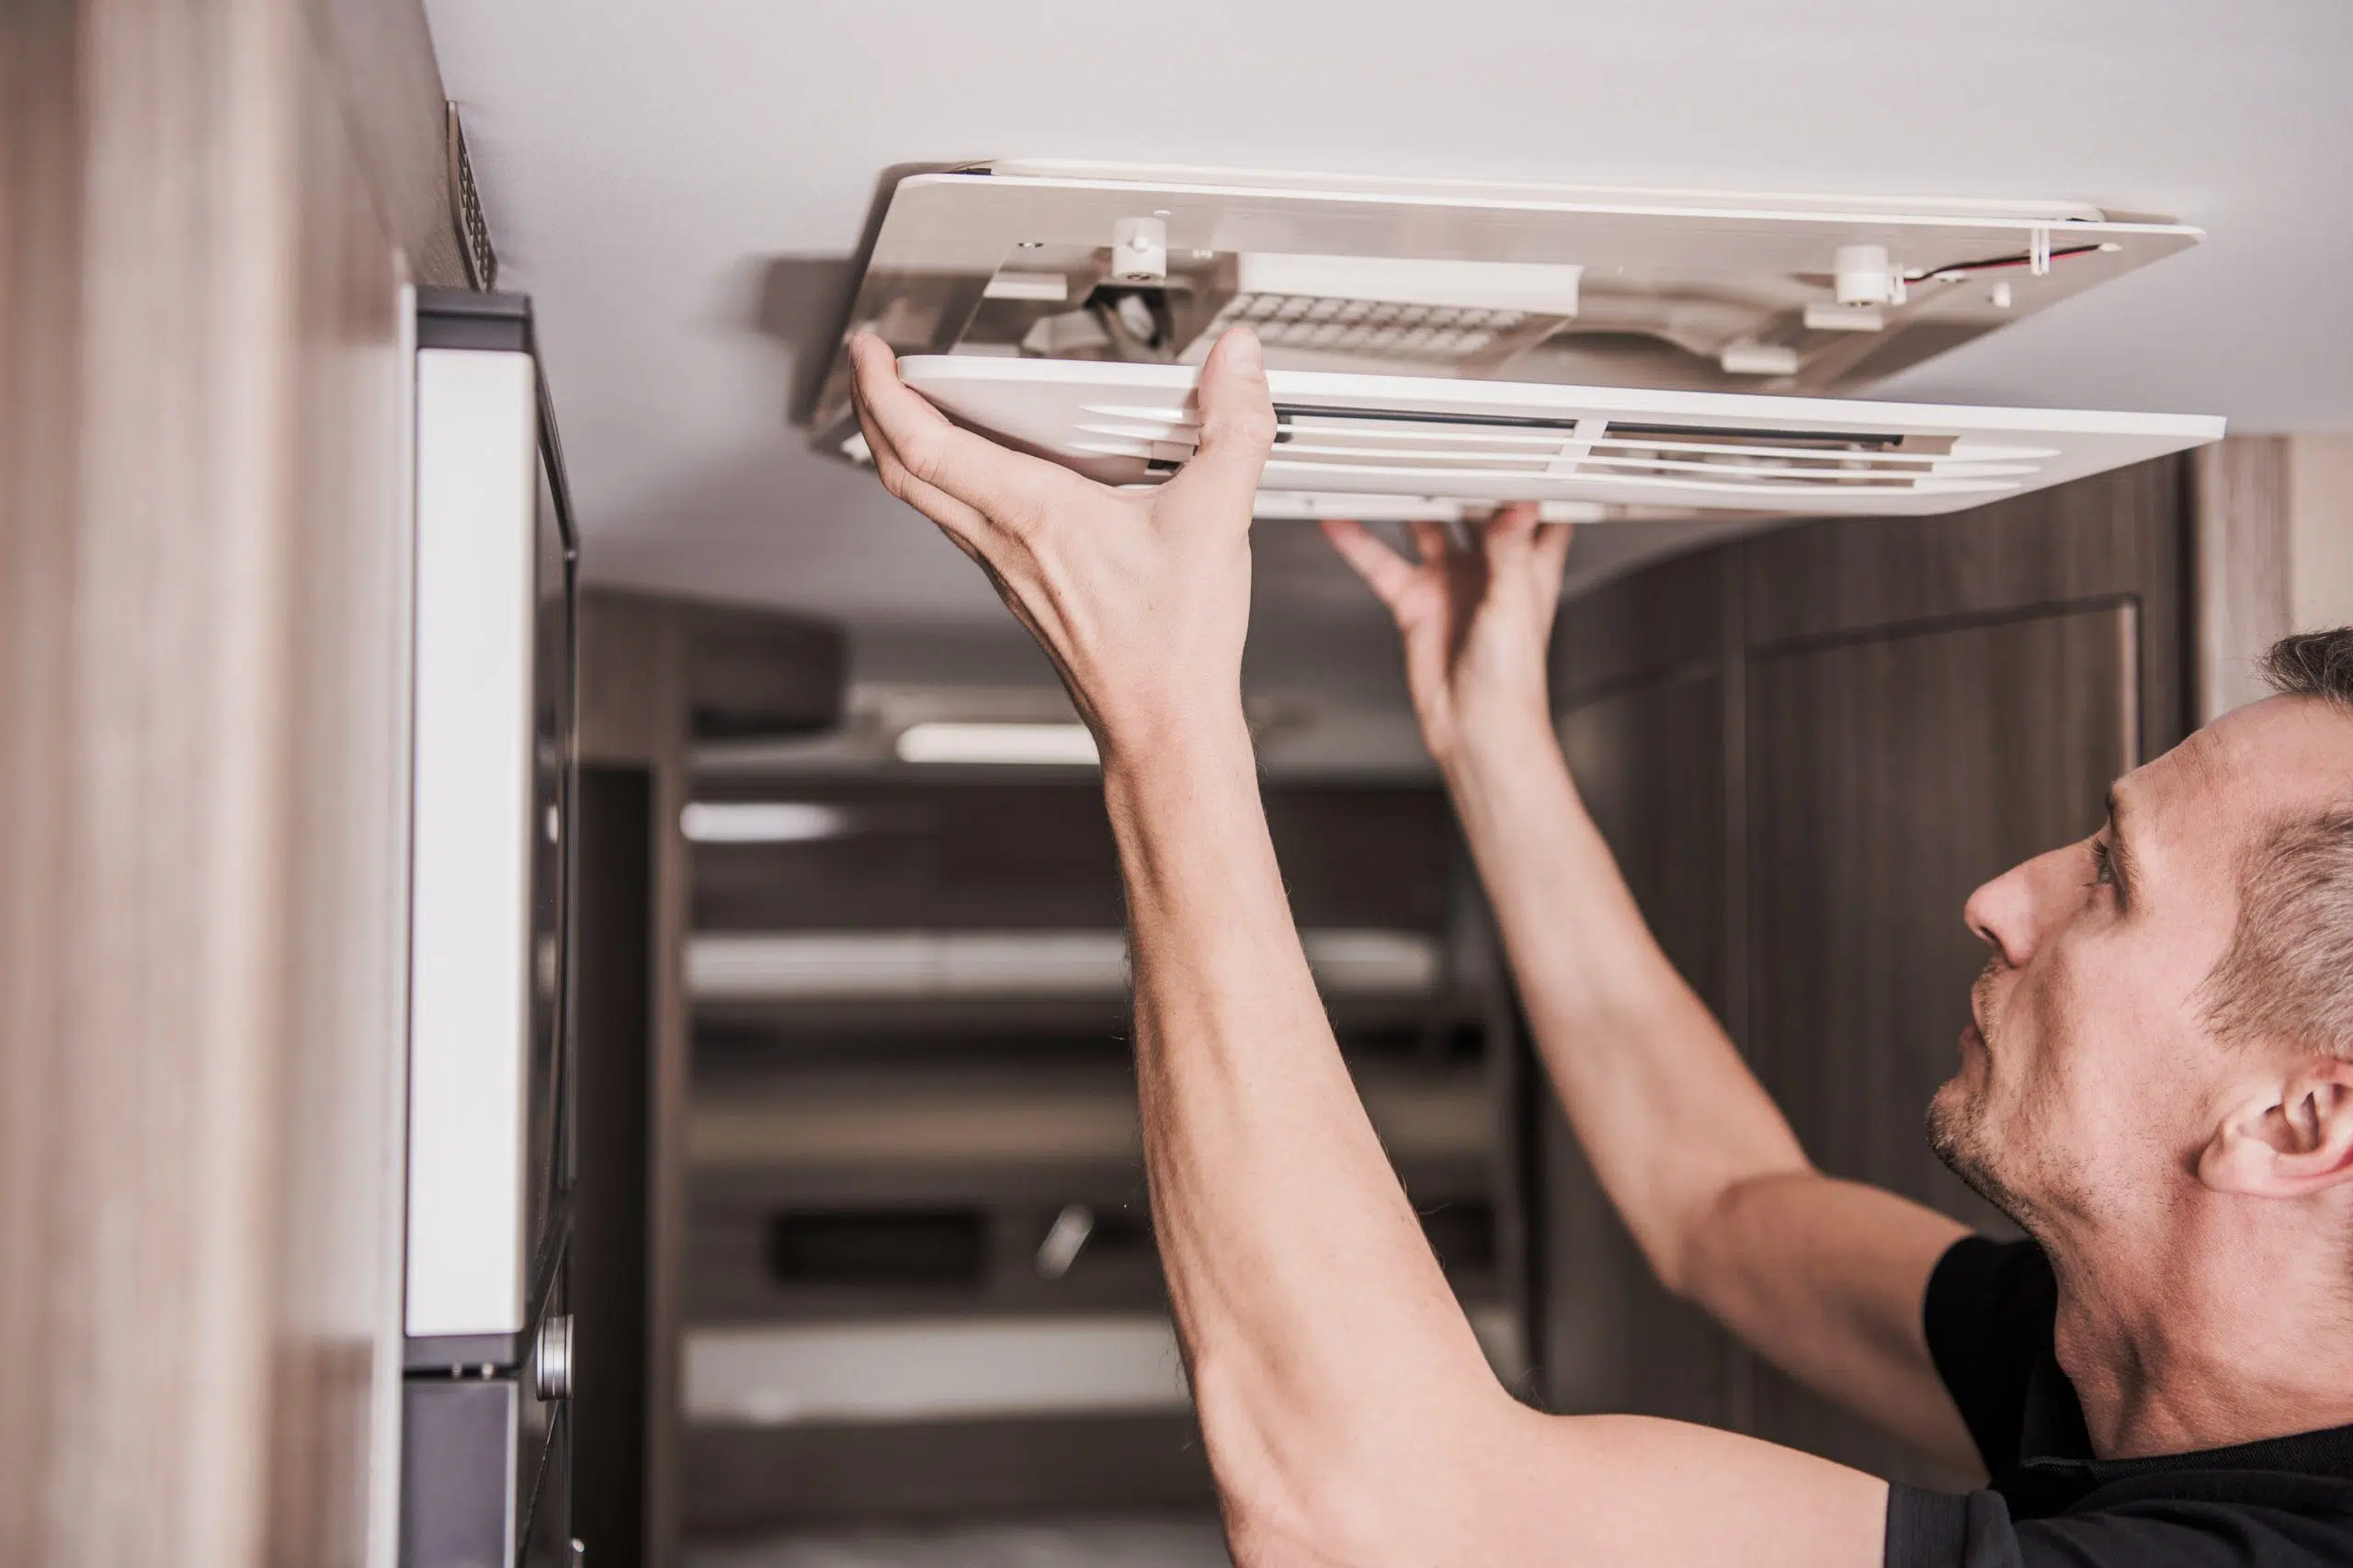
Put RV Air Conditioner Maintenance on Your Annual RV Maintenance Checklist
PUT RV AIR CONDITIONER MAINTENANCE ON YOUR ANNUAL RV MAINTENANCE CHECKLIST
Inspect. Change. Clean. And store. Check, check, and double-check. Then, multiple this several dozen times. Welcome to RV ownership, where annual RV maintenance checklists are usually bulleted with these commands. Today, we’re going to look at RV air conditioner maintenance and these four checklist items, which should be performed at a minimum once a year.
INSPECT your RV’s air conditioner
First, before performing any maintenance on your air conditioner, make sure you disconnect the AC’s power. This is an important safety measure! Once unplugged, do an overall inspection of the unit. Carefully access your roof to examine the AC’s plastic shroud that covers the unit. Check for damage; UV rays and low-hanging branches can often crack the shroud, causing water to seep into the unit or your RV. New replacement covers can be purchased.
REPLACE the “stock” air filter with an RV Air filter
Most every RV maintenance checklist will tell you to replace your RV AC filter on an annual basis, and while you definitely should, don’t settle for the standard manufacturer-supplied filter. These filters are about as handy as the filters you find on the back of a hairdryer; they only keep particles out of the AC unit, not your interior, and even then, these thin, black filters don’t do a great job at even that.
That’s where RV Air’s replacement air filters come in. These filters feature 40 layers of unwoven polyester, sprayed with an anti-microbial tackifier to capture particles as small as 3-10 microns, like dust, pollen, mold spores, pet dander and other allergens.
In short, these RV Air filters do more than just help your AC run efficiently, they turn your unit into an air filtration system that can greatly reduce environmental allergies, even when the AC is just running on fan mode. With the newest generation of RV Air filters featuring a MERV 6 rating, these filters also do a better job at keeping particles out of the unit, which in turn protect build-up of dust on the AC coils, which help cool the RV.
As a side note, don’t try replacing the RV AC filter with any ordinary filter designed for your home. While you may be tempted to cut a residential filter to RV size, the paper layers of these filters are not meant for an RV environment, where the hot conditions of a stored camper create the perfect breeding grounds for mold spores, especially in these paper filters.
CLEAN the evaporator and condenser coils
With the filters removed, you should be able to see the unit’s evaporator coils. If you opt to stay with a basic filter, you’ll likely see debris on the coils. Use the soft bristle brush of a vacuum to remove the build-up.
After that, access the condenser coils by removing the roof-top shroud. Unscrew the bolts, detach the shroud and vacuum out the dust. Spray-on coil cleaners exist on the market. You’ll want to check the condenser coils twice a year for debris, like dirt and leaves.
Note, we don’t suggest “cleaning” your filter like some RV maintenance lists suggest. These filters, especially RV Air filters, are meant to catch the “gunk” circulating in a confined space. RV Air lab reports show that the amount of dead skin captured by this specialized filter was “off the charts.” Not only do you want to avoid handling this kind of Petri dish, but the RV Air filter cannot be exposed to water as it would wash away the tackifier, which holds the filter together, which brings us back to Step 2 … just replace the filter. It’s worth a breath of fresh air.
Last but not least, STORE your camper with an AC cover
Cover your RV’s air conditioner with an inexpensive cover in the off-season. It’ll help protect the unit from the elements, meaning you’ll spend less time inspecting, replacing, and cleaning.

